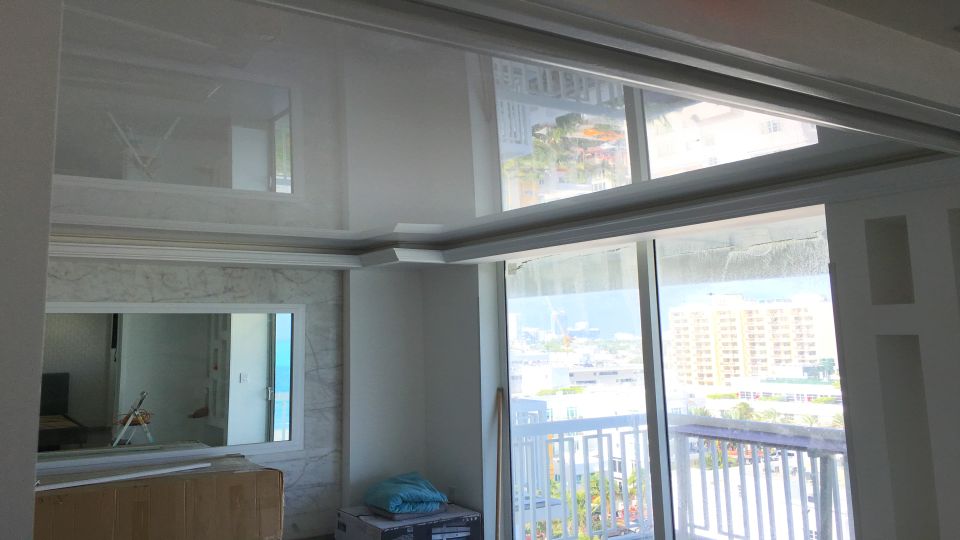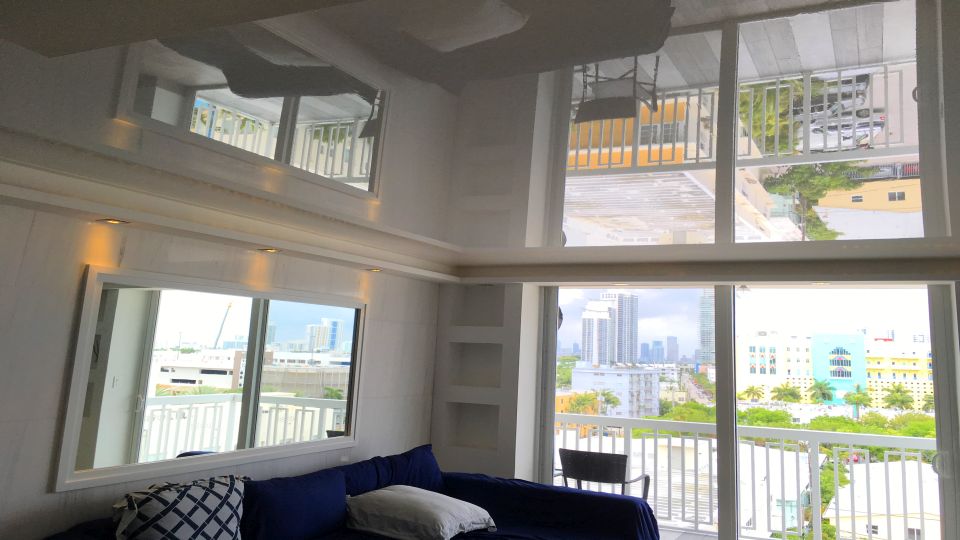
Stretch Ceiling Track installation
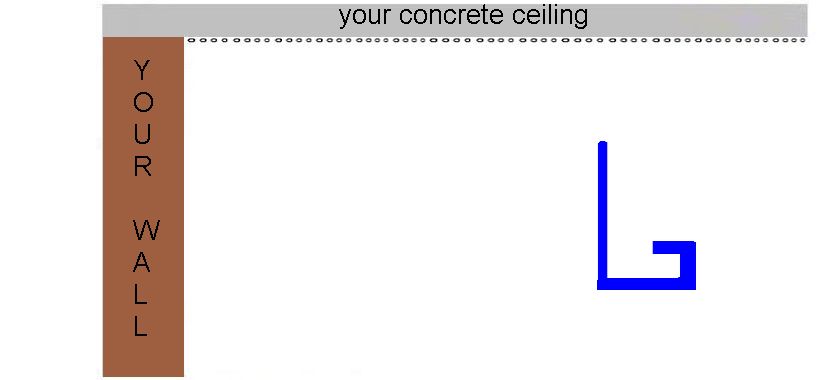
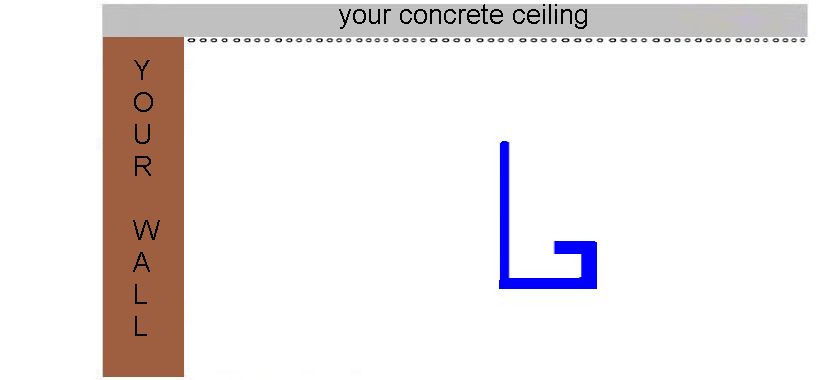
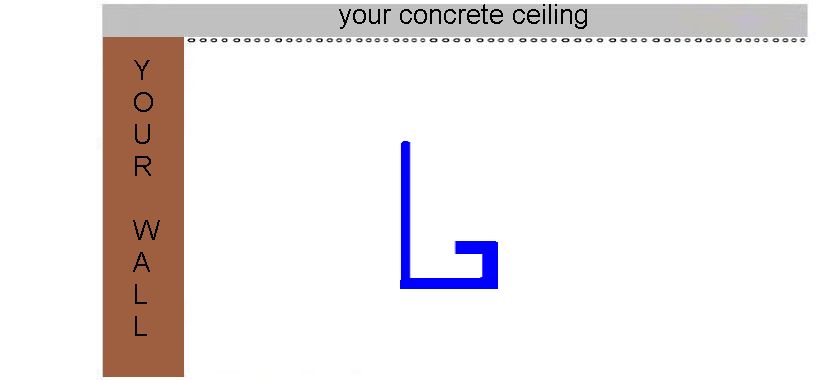
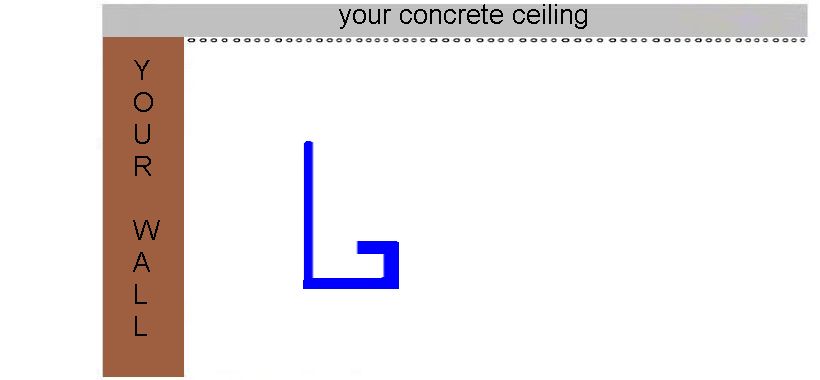
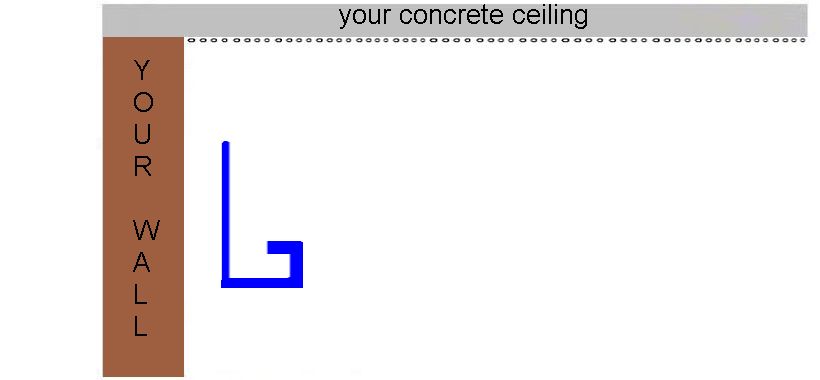
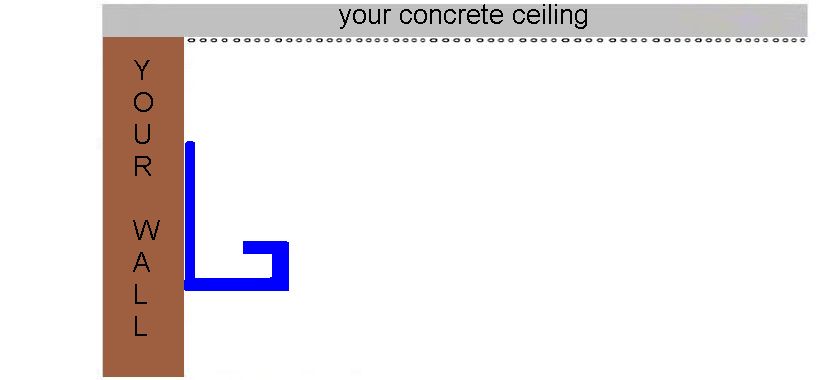
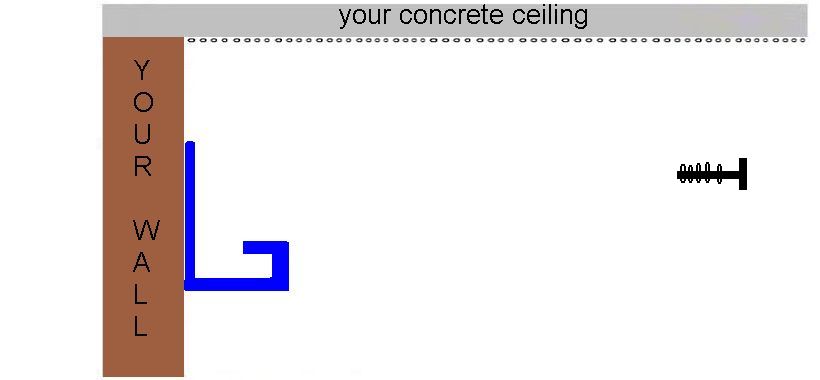
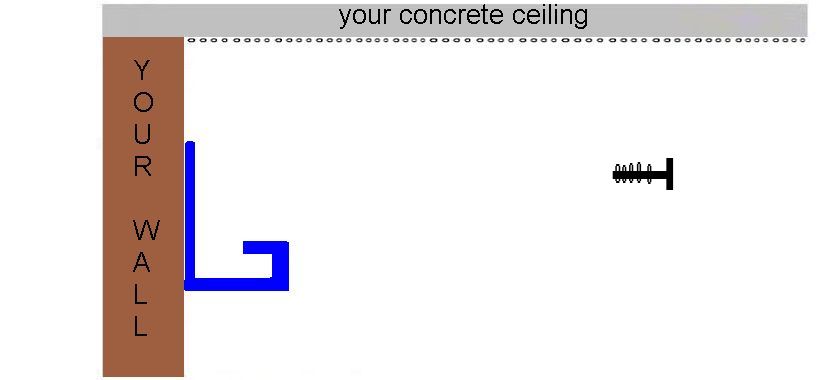
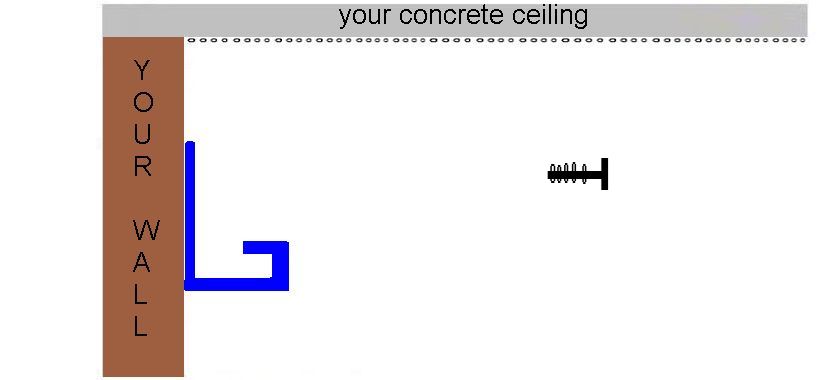
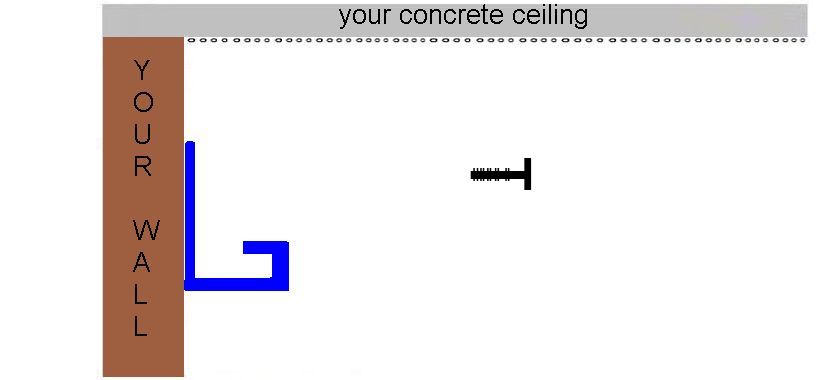
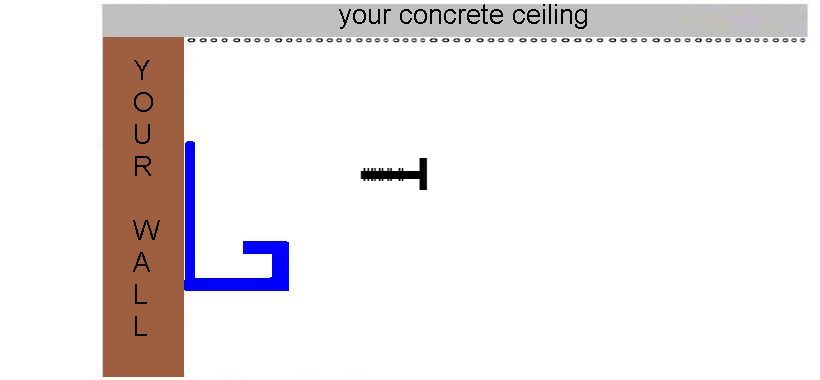
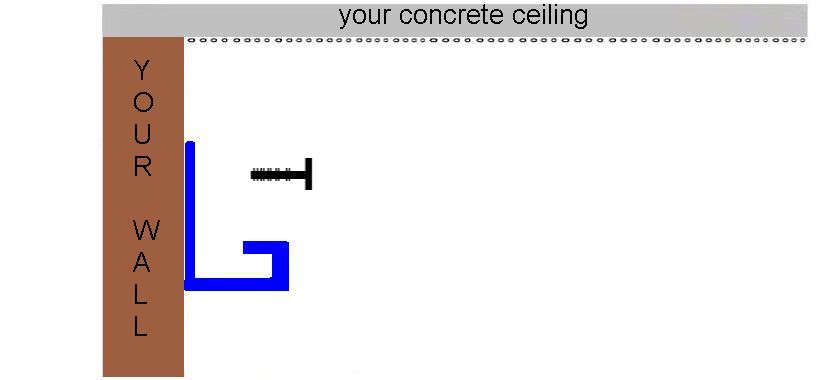
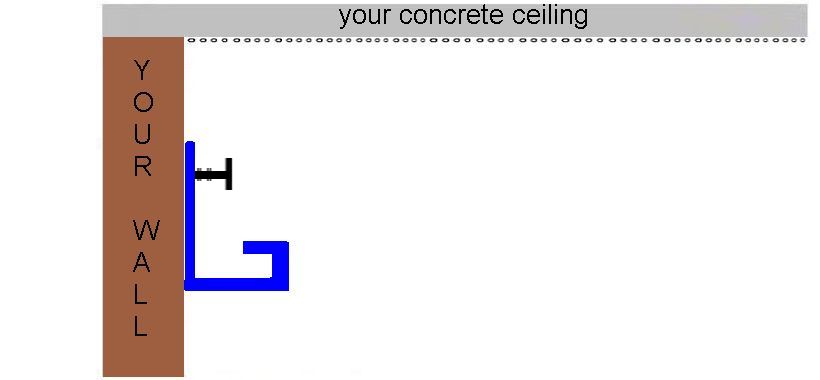
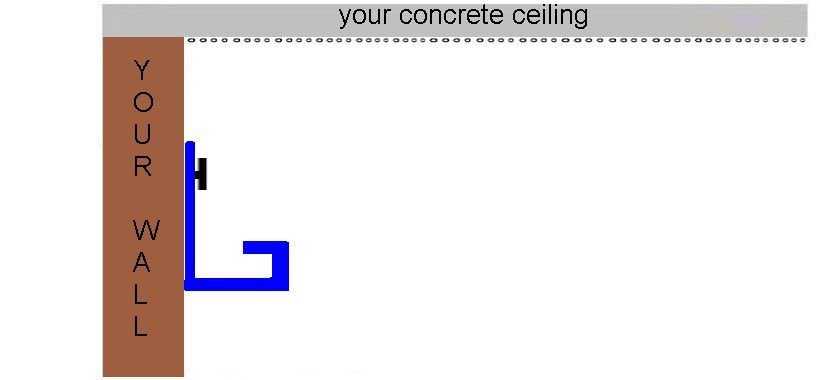
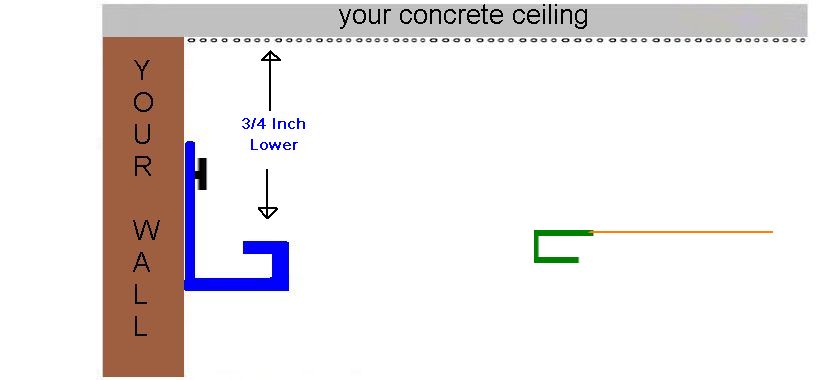
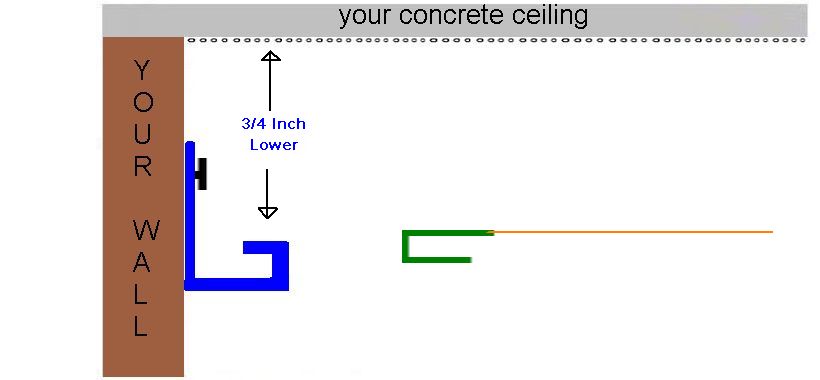
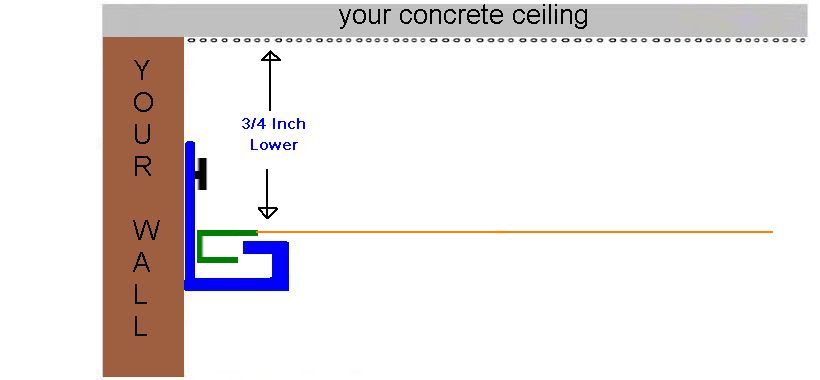
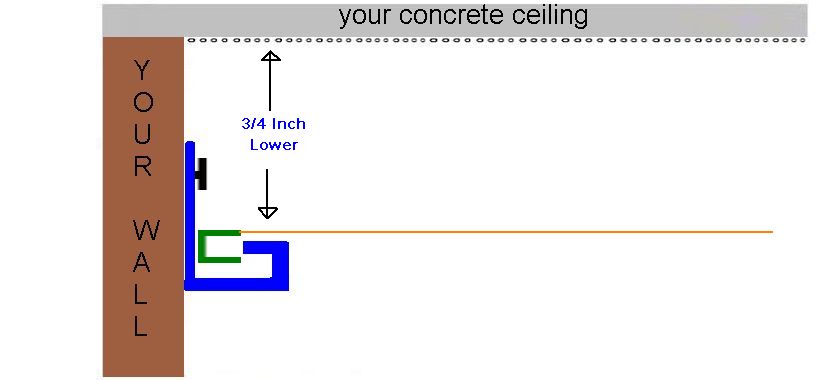
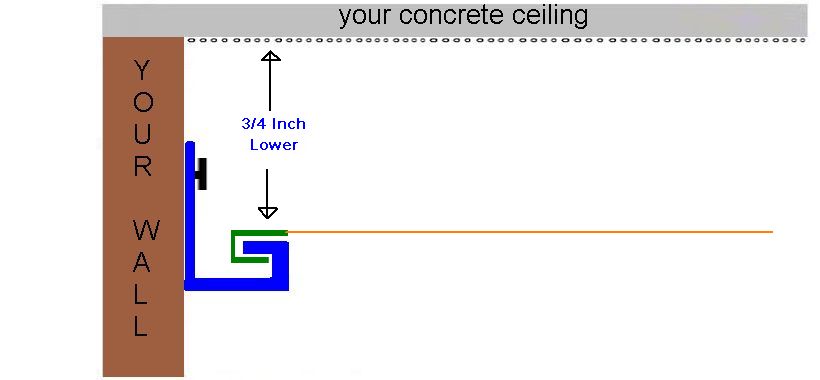
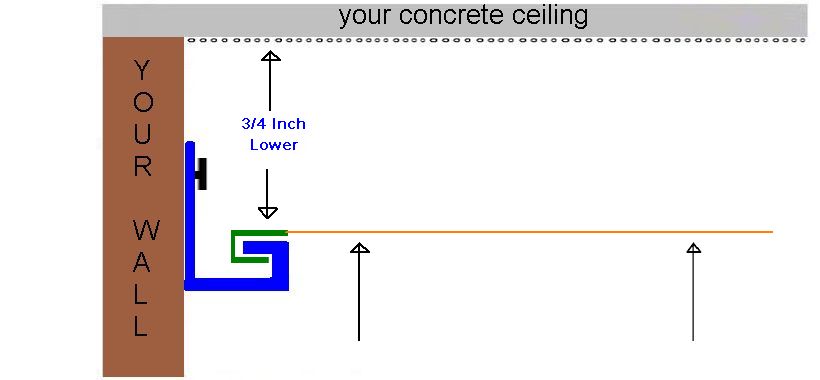
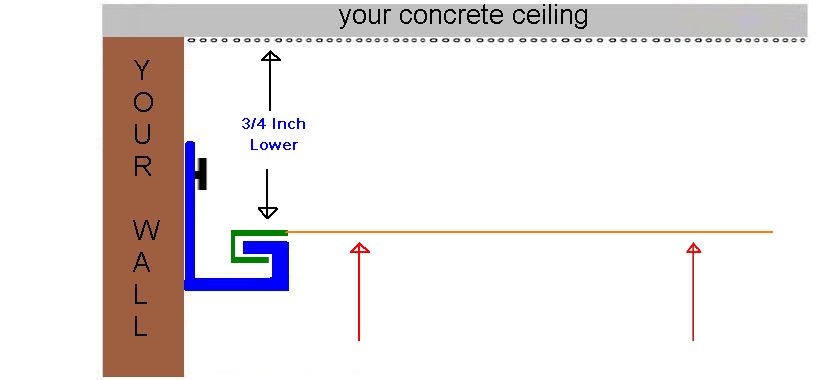
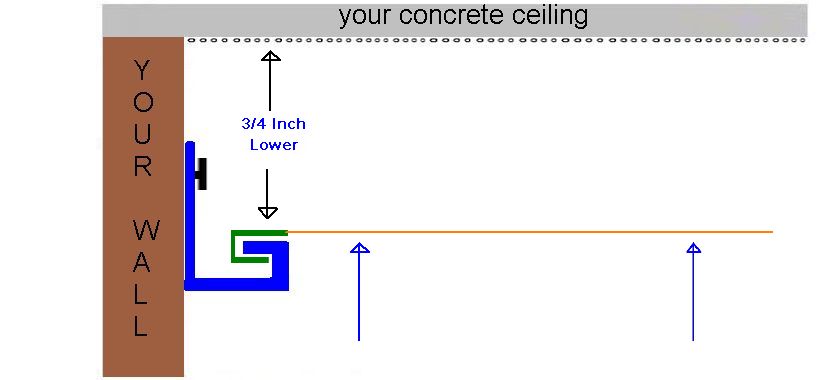
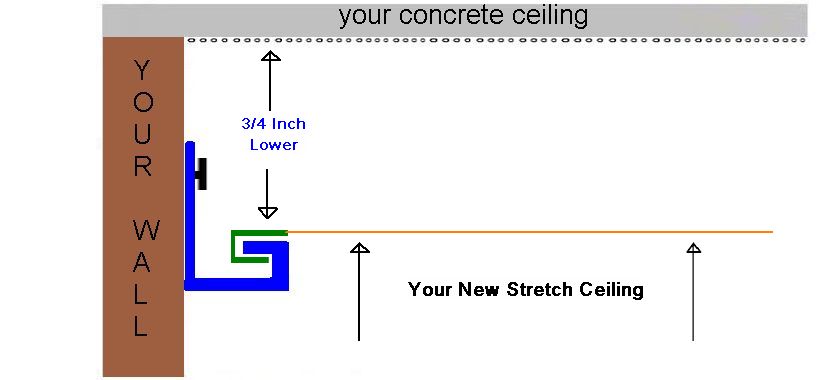
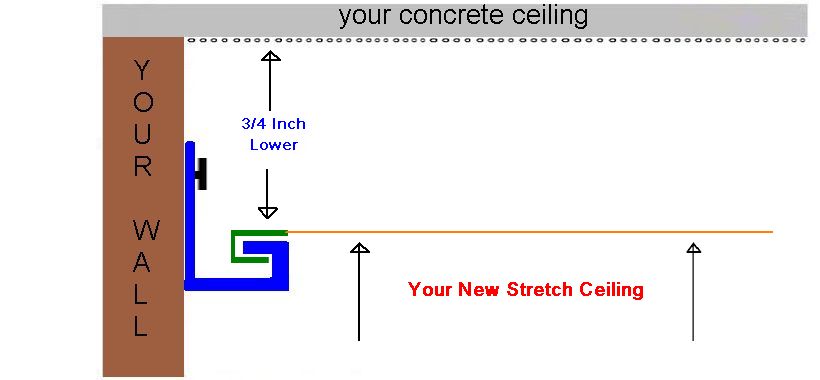
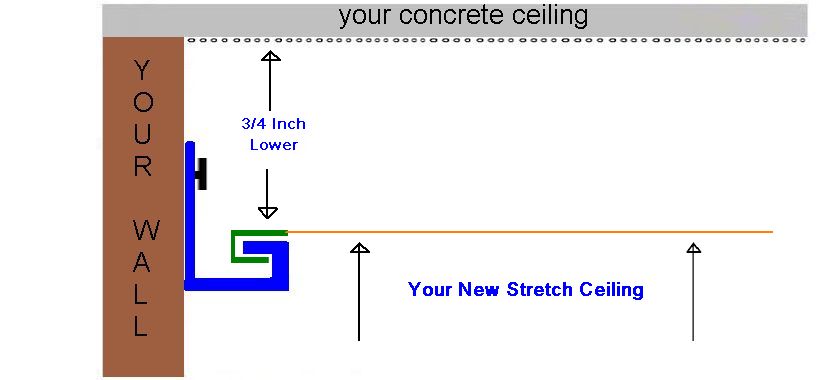
A stretch ceiling is easy to understand.
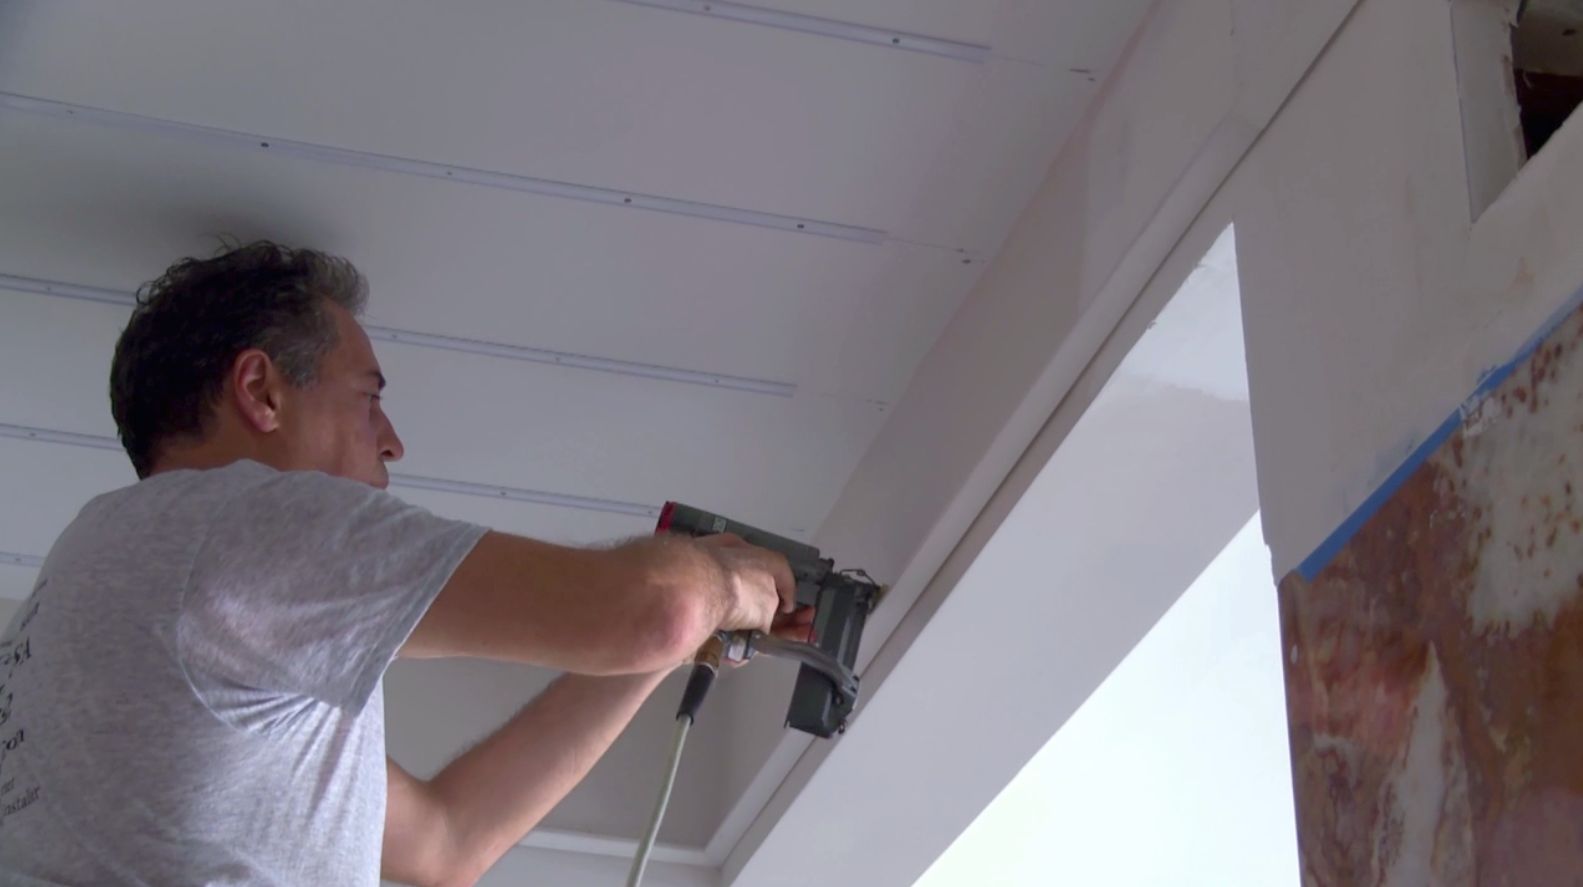
Hello, Are you preparing to install a stretch ceiling system but feeling a bit overwhelmed? Worry not, as we have the perfect guide for you! This informative section element contains all the valuable information you need to know about the installation process. The instructions are remarkably clear and concise, so you won’t have to worry about any confusion while setting up your new ceiling.
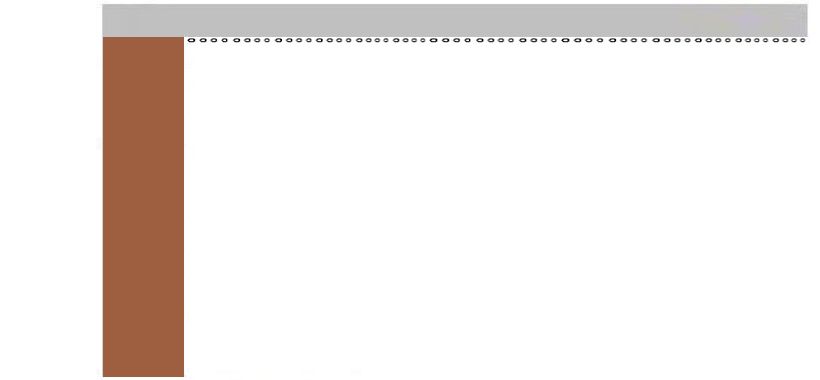
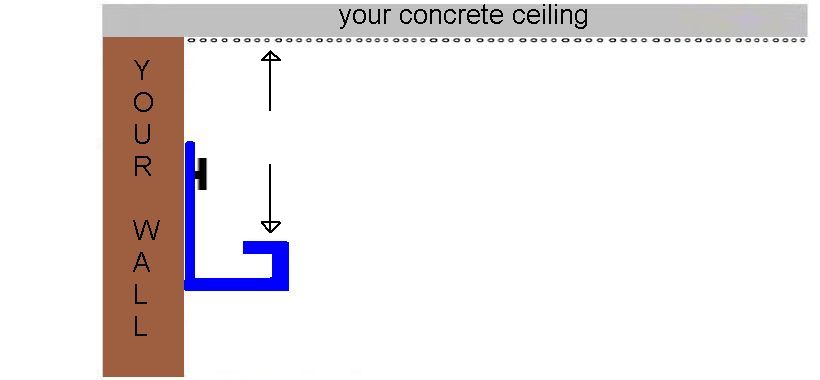
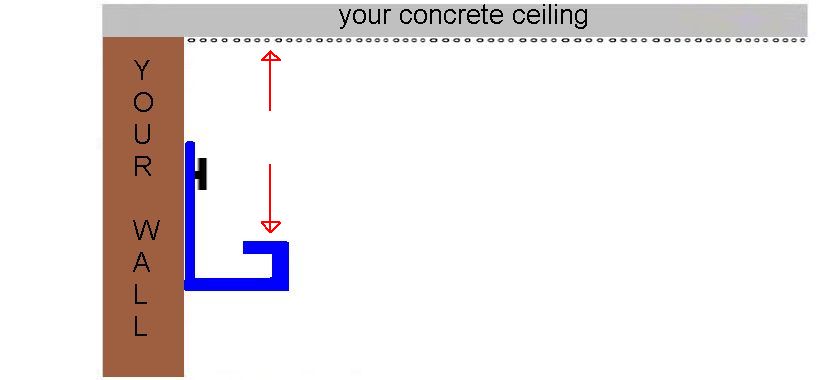
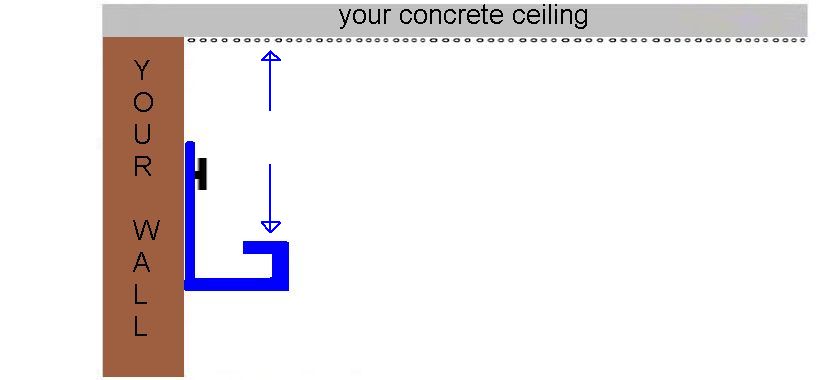
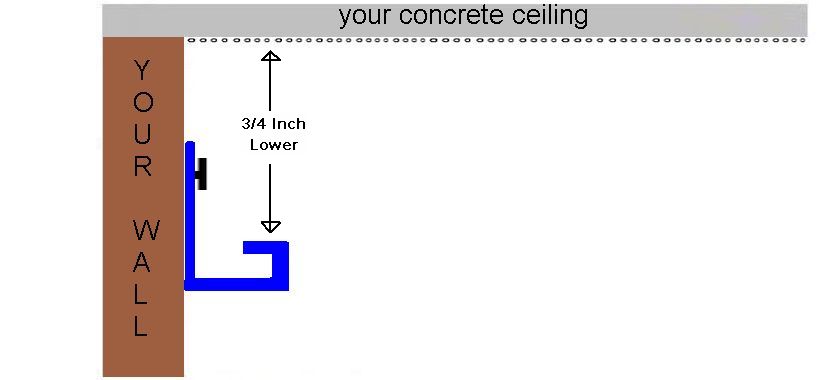
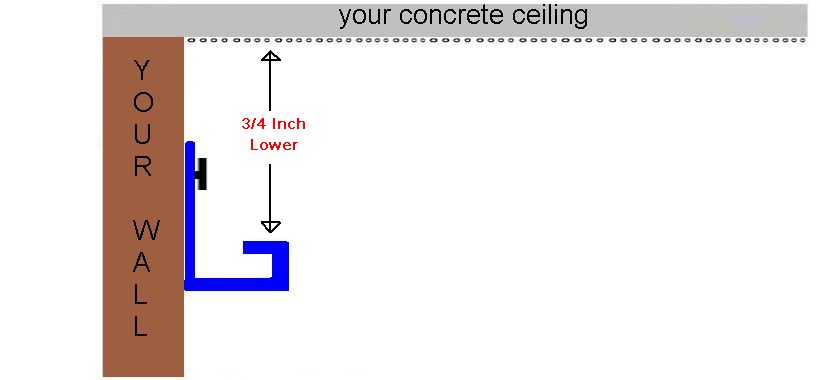
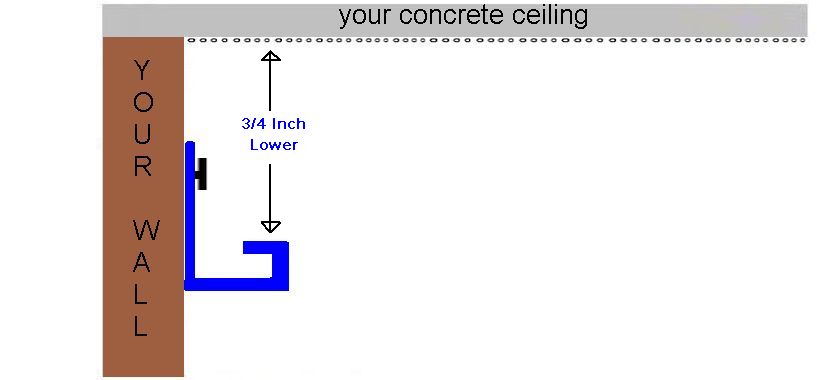
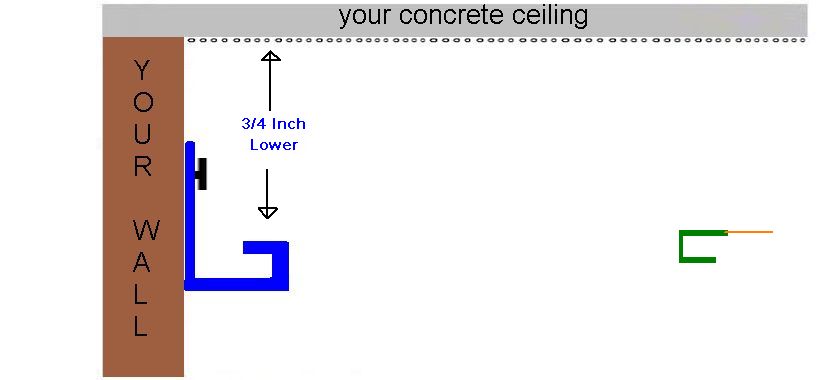
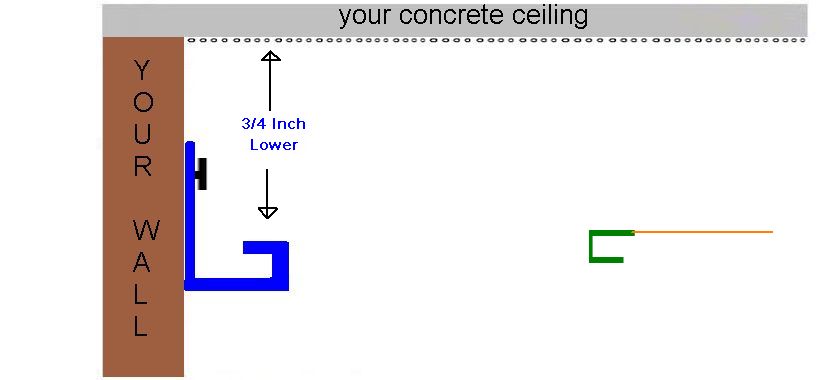
To begin with, the first step is to fix the track onto either the wall or the existing ceiling, depending on the configuration of your room. Once the track is installed, you need to stretch the membrane from one end to the other and secure it into the track. Your new stretch ceiling needs to have a minimum distance of 3/4 inch below the actual ceiling.
The message also offers great advice on discussing additional components such as spotlights, chandeliers, smoke detectors, and A/C vents with the installation professionals. These components can be seamlessly incorporated into your new stretch ceiling to enhance its aesthetic and functionality. So, don’t hesitate to work with the experts. With these instructions and professional help, you’ll soon achieve a stunning stretch ceiling system for your space. Remember to also visit the provided link for more information. Thank You
Our choice of multiple Stretch Ceiling Track



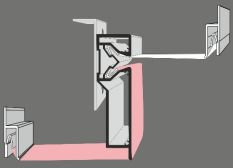


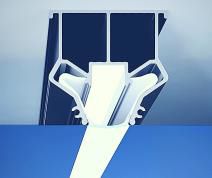

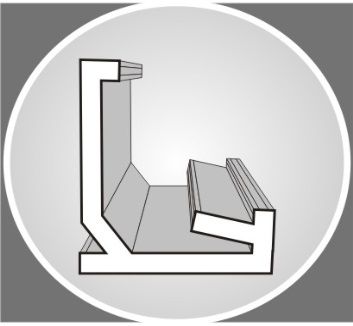
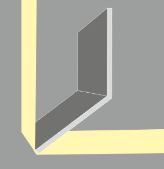

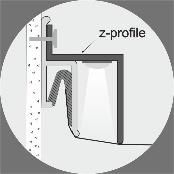

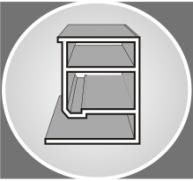
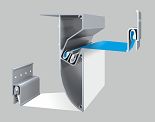
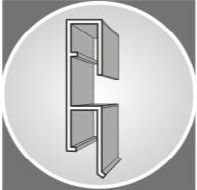
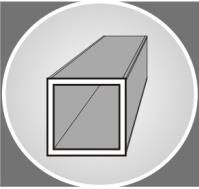
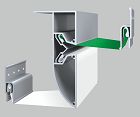
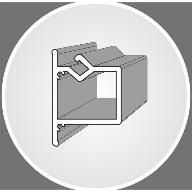
3/4 inch below your actual ceiling. You won’t loose that much !!
Monday-Friday : 9:00am - 6:00pm
Saturday 9:00am - 2:00pm
ceilingmiami@gmail.com
Miami - Orlando - Jacksonville
Naples - Tampa - Gainesville
Call Today: 786.334.0392
Photo Credits: OneStretchCeiling
